


Colorado Flag Pillow
This Colorado flag pillow was inspired by the cabins of the Rocky Mountains.
Difficulty:
Easy
Terms:
U.S. terms
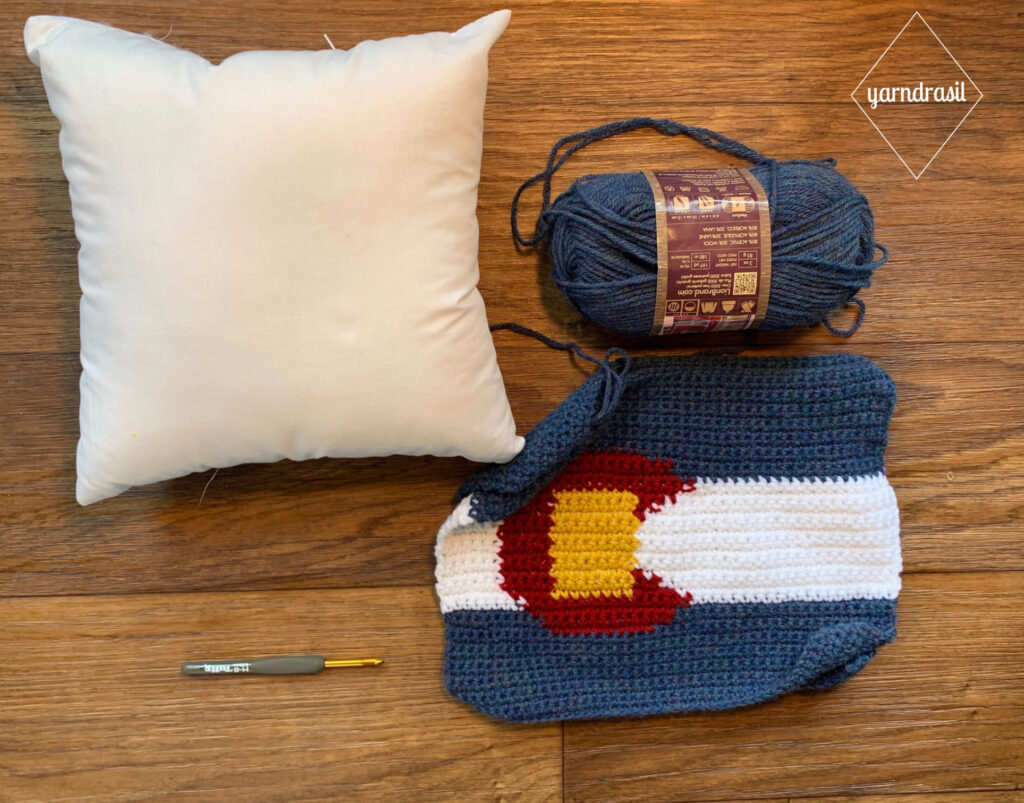
Supplies:
- Lion Brand Yarn, Wool-Ease (197 yd; 180 m/85 g; 3 oz)
- Blue Mist, 2 skeins
- White, 1 skein
- Cranberry, 1 skein
- Gold, 1 skein
- 12"x 12" pillow form
- Hook: U.S. H/8 (5 mm)
- Scissors
- Yarn Needle
Abbreviations:
Gauge:
4”x4” = 15 sc and 16 rows
Notes:
Follow color chart, changing colors as necessary
Pattern:
Front Side
Start with the blue yarn
Ch 45
Row 1: Sc in 2nd ch from hook, sc in each across (44 sts)
Rows 2 - 44: Sc in each across (44 sts)

Reverse Side
The reverse side of the pillow uses blue yarn only
Ch 45
Row 1: Sc in 2nd ch from hook, sc in each across (44 sts)
Rows 2 - 44: Sc in each across (44 sts)
Assembling the Pillow

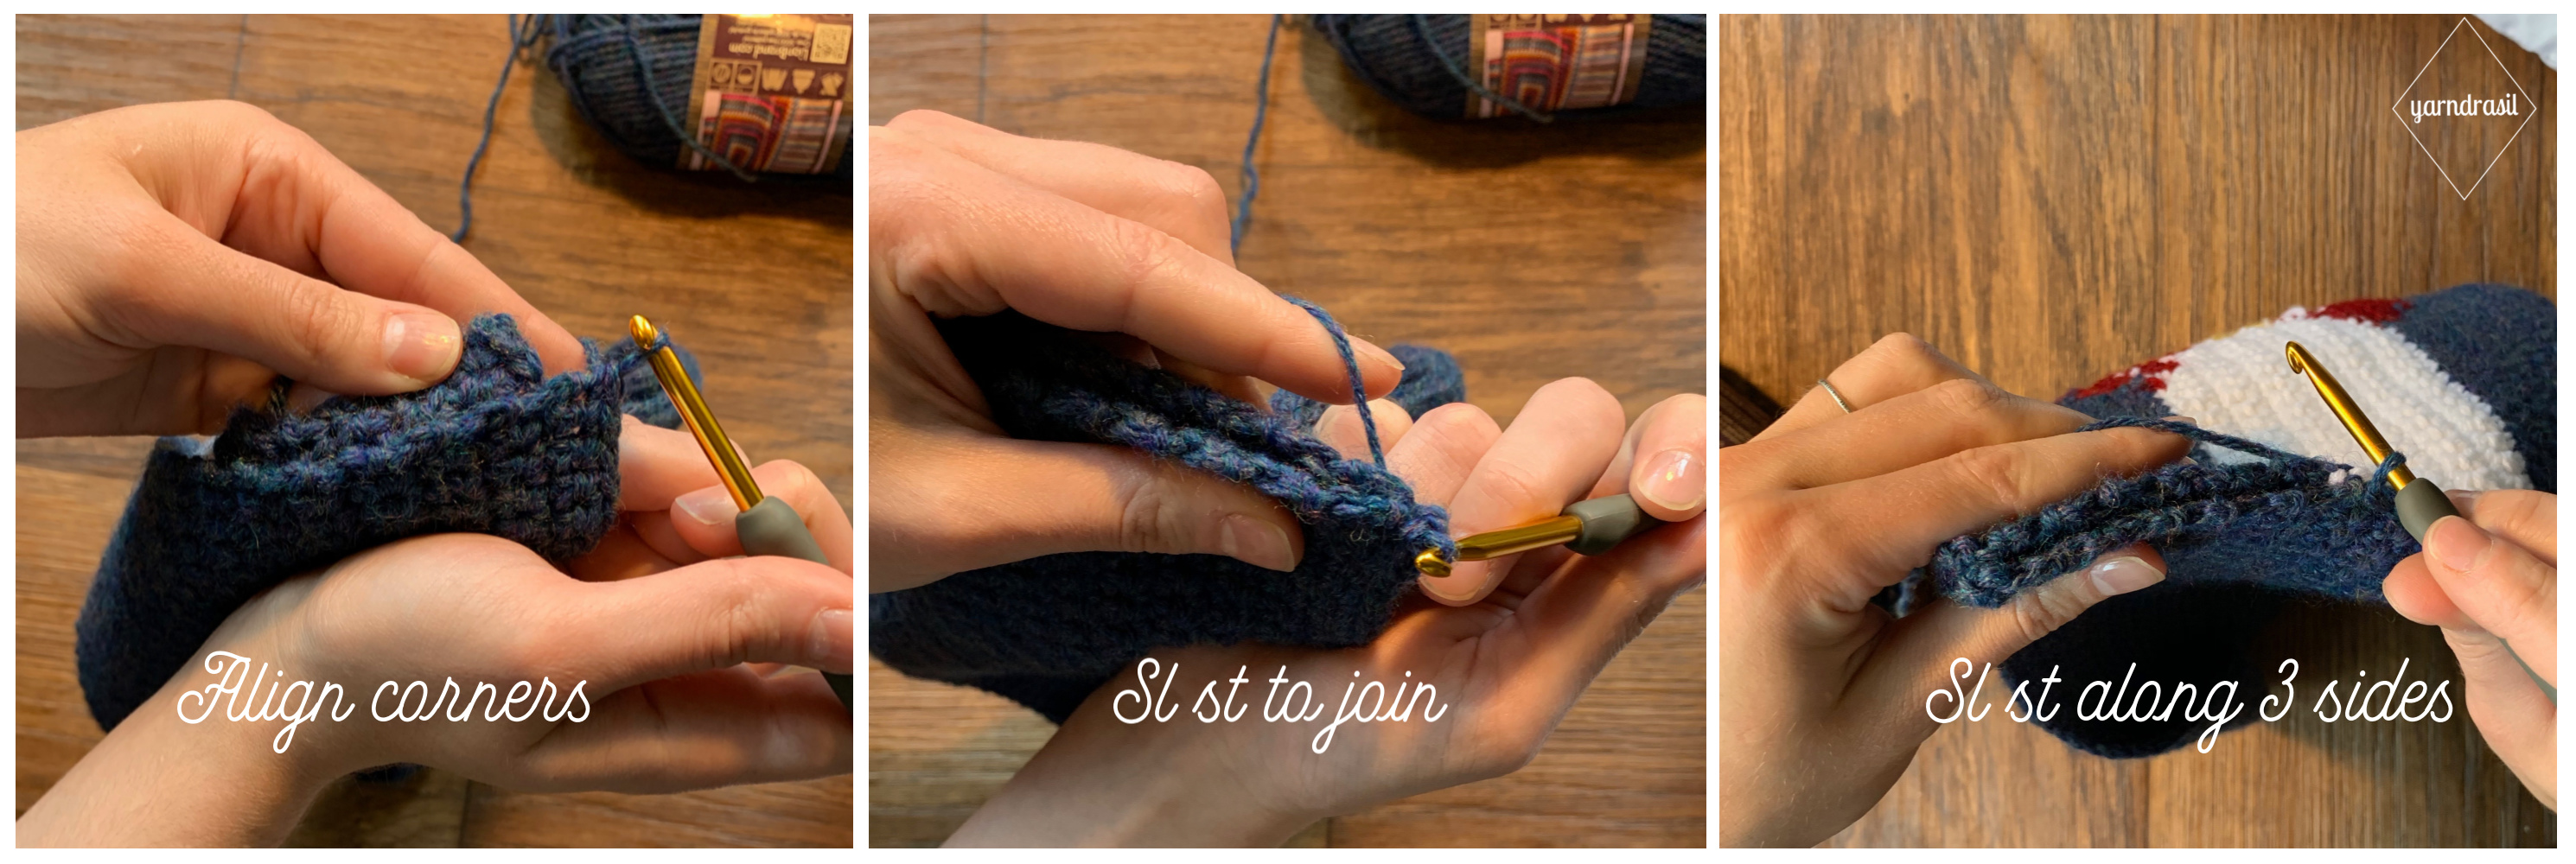
We are going to begin by slip stitching the two sides together. First, we will work along three sides, then we will turn the pillowcase right side out, next we'll insert the pillow and then finally, we'll slip stitch the pillow closed.
To begin, face the right sides towards each other. Align the corners so that the stitches of both sides are aligned with each other. Sl st along the first side, continuing on to do 3 sides total. Next, flip the pillowcase so that the right side is facing out.
Next, insert the pillow. I like to add extra fiber fill but this step is optional! I just really like my pillow fluffy. Lastly, you'll sl st along the final side to close. Fasten off, and you're all set!


Leave a Reply