

In this article, we take a look at 4 ways to hold your yarn when crocheting. Figuring out which way works best for you will take experimenting, but it's worth the effort of trying multiple techniques. I do not hold my yarn the way that I originally learned.
The ultimate goal with the working yarn (i.e., the yarn that is coming from the skein of yarn) is to get it to come over the pointer finger of the hand that will be holding the yarn. Your pointer finger is your tensioner. You want the tension of the yarn to be taught, without being difficult to get onto the hook. Similarly, you do not want the tension of the yarn to be very loose.
For right-handed people, you want the working yarn to be coming over your left-hand pointer finger. And for left-handed people, you want the working yarn to be coming over the right-hand pointer finger.
Jump to:
📖 About the tutorial
Difficulty:
Basic
Skills needed:
None
Terms:
U.S. Terms
Abbreviation:
None
🧺 Supplies
- Any yarn
- The hook listed on that yarn's label
🧶 Correct Tension
If you're working on the chain, pinch the slip knot (with the finger and thumb of the hand that is holding the yarn) to help you keep even tension. If you're midway through your project, use the same fingers to pinch the previous rows (or rounds).
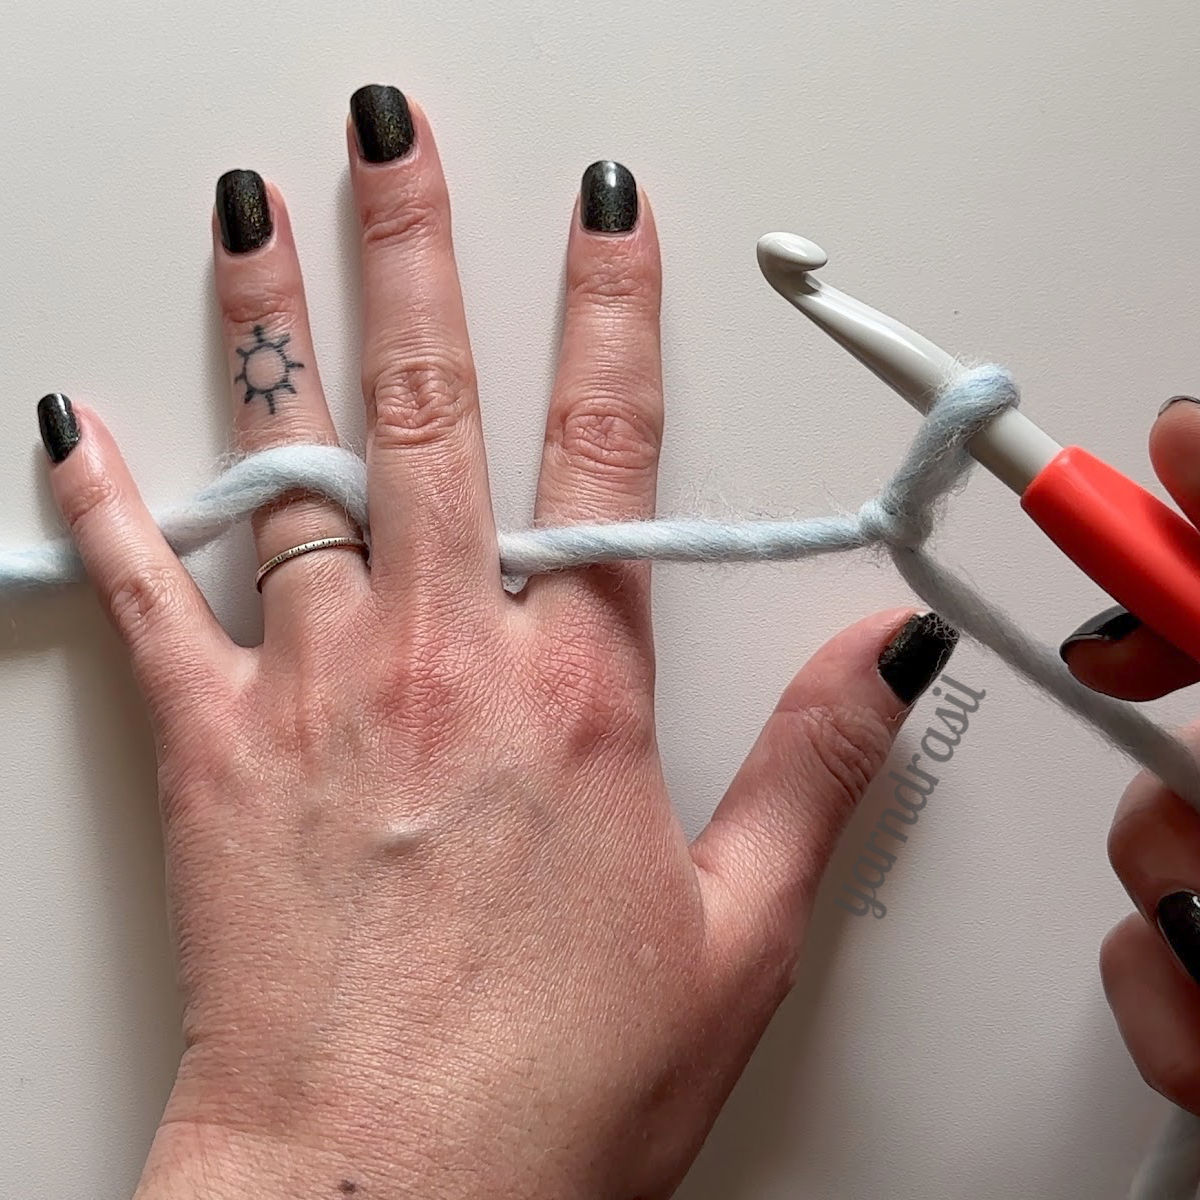
The tension of the yarn can be most easily checked by looking at the length of yarn that is between your pointer finger and the project. In the following image, you can see how the yarn is taught, without digging into my finger. With the yarn in this position, I can flick my finger up to pull more yarn toward me. The tension can also be adjusted by bending your finger down slightly.

If you're getting a mark on your finger from the yarn, you should consider trying a different method of holding your yarn. Or you're just really dehydrated 😂.
If the yarn is sagging, pull the slack back towards the skein.
🎥 Video tutorial
Method 1
Over your pointer finger only
This is the easiest way to hold your yarn. It is the way I teach absolute beginners. Place the working yarn under your hand. Bring the tail end up through your middle and pointer fingers. Finally, bring a few centimeters (or a couple of inches) of yarn over your pointer finger.

Method 2
Weaving through your fingers
Starting with the yarn on the palm side of your hand, bring it up between your pink and ring fingers. Next, weave it between your ring and middle fingers. Then, bring it back up between your middle and pointer fingers. Finally, the yarn comes over your pointer finger.
Method 3
Weaving through your fingers, variation
Begin with the yarn on the top of your hand. Bring it back between your pinky and ring finger. Next, bring it behind your ring finger. Then, bring the yarn over the top of both your middle and pointer fingers.

Method 4
Wrapped around the pinky
This method is the most complicated and will likely take a bit of practice. This is the way I prefer to hold most yarn weights.
To begin, start with the yarn on the palm side of your hand. Bring the yarn up between your pink and ring fingers. Next, wrap the yarn clockwise around your pinky finger. After that, pull the yarn until there's enough slack to bring it up between your middle and pointer fingers. Finally, drape the yarn over your pointer finger.


💭 Top tip
Hint: Just because one way works for most yarns, doesn't mean that it's going to work for every yarn.
Super Bulky yarn has a tendency to get stuck when I wrap it around my pinky. So even though "Method 4" is my go-to, I don't always use it when working with my favorite super bulky yarn.
Just stay flexible. Don't be afraid to utilize the 4 ways to hold your yarn when crocheting.
I hope you have found this tutorial helpful. Please reach out to me if you have any questions. Happy crocheting!


Leave a Reply